
Why Won't My QR Code Scan? 9 Fatal Mistakes and Instant Fixes
Diagnose and fix QR code scanning failures instantly. Learn the 9 critical optical mistakes, quiet zone standards, Reed-Solomon recovery limits, and how to scan from screenshots.
Step-by-Step Visual Tutorial Available
Want interactive visual diagrams and print sizing formulas? Check out our visual guide.
Why Is My QR Code Not Scanning?
A QR code fails to scan primarily because optical sensors cannot binarize or localize the matrix. The most frequent causes are inverted color contrast (light foreground on dark background), a violated quiet zone margin (less than 4 modules of clear white space surrounding the code), an oversized center logo exceeding reed solomon error correction capacity (>30%), or a distorted, low-resolution raster file printed too small for the user's scanning distance.
Few things cause more immediate panic than unboxing 5,000 freshly printed marketing flyers, conference badges, product packages, or restaurant table tents, only to discover that your phone’s camera displays a stubborn, unresponsive viewfinder. You adjust the lighting, pull the phone closer, push it farther away, clean the lens, ask a colleague to test their Android device, and yet nothing happens: the qr code not scanning nightmare has become your reality.
Why does this happen? To the human eye, a QR code appears to be an arbitrary mosaic of decorative black and white pixels. But to an optical machine vision sensor, every square millimeter of a Quick Response barcode (ISO/IEC 18004) is governed by strict mathematical laws, geometric alignment tolerances, and signal-to-noise ratios. If a single optical rule is broken during graphic design or physical production, the smartphone's camera pipeline drops the frame without ever attempting a URL redirect.
Whether you are a graphic designer debugging a client brochure, a marketer whose live signage is failing, or an everyday user trying to figure out can you scan a qr code from a screenshot on your phone, this definitive troubleshooting manual covers the full diagnostic breakdown. We will explore the internal computer vision pipeline, deconstruct the 9 fatal defects that break scannability, examine Reed-Solomon mathematical limits, and show you how to use our free online QR code reader from image to test any image file or screenshot directly on your screen without printing a single sheet of paper. When you need to generate pristine, fail-proof codes that conform to all ISO parameters, you can rely on our custom QR code generator with logo and core free QR code generator.
1. The Computer Vision Pipeline: How Smartphones Actually Read QR Codes
To troubleshoot why a code fails to scan, you must first understand how modern mobile operating systems (Apple iOS Camera, Android Camera Core, Google Lens, and web-based camera APIs) process a visual frame. The scanning process is not an instantaneous photograph; it is an active multi-stage computer vision algorithm executing 30 to 60 times per second across your video stream.
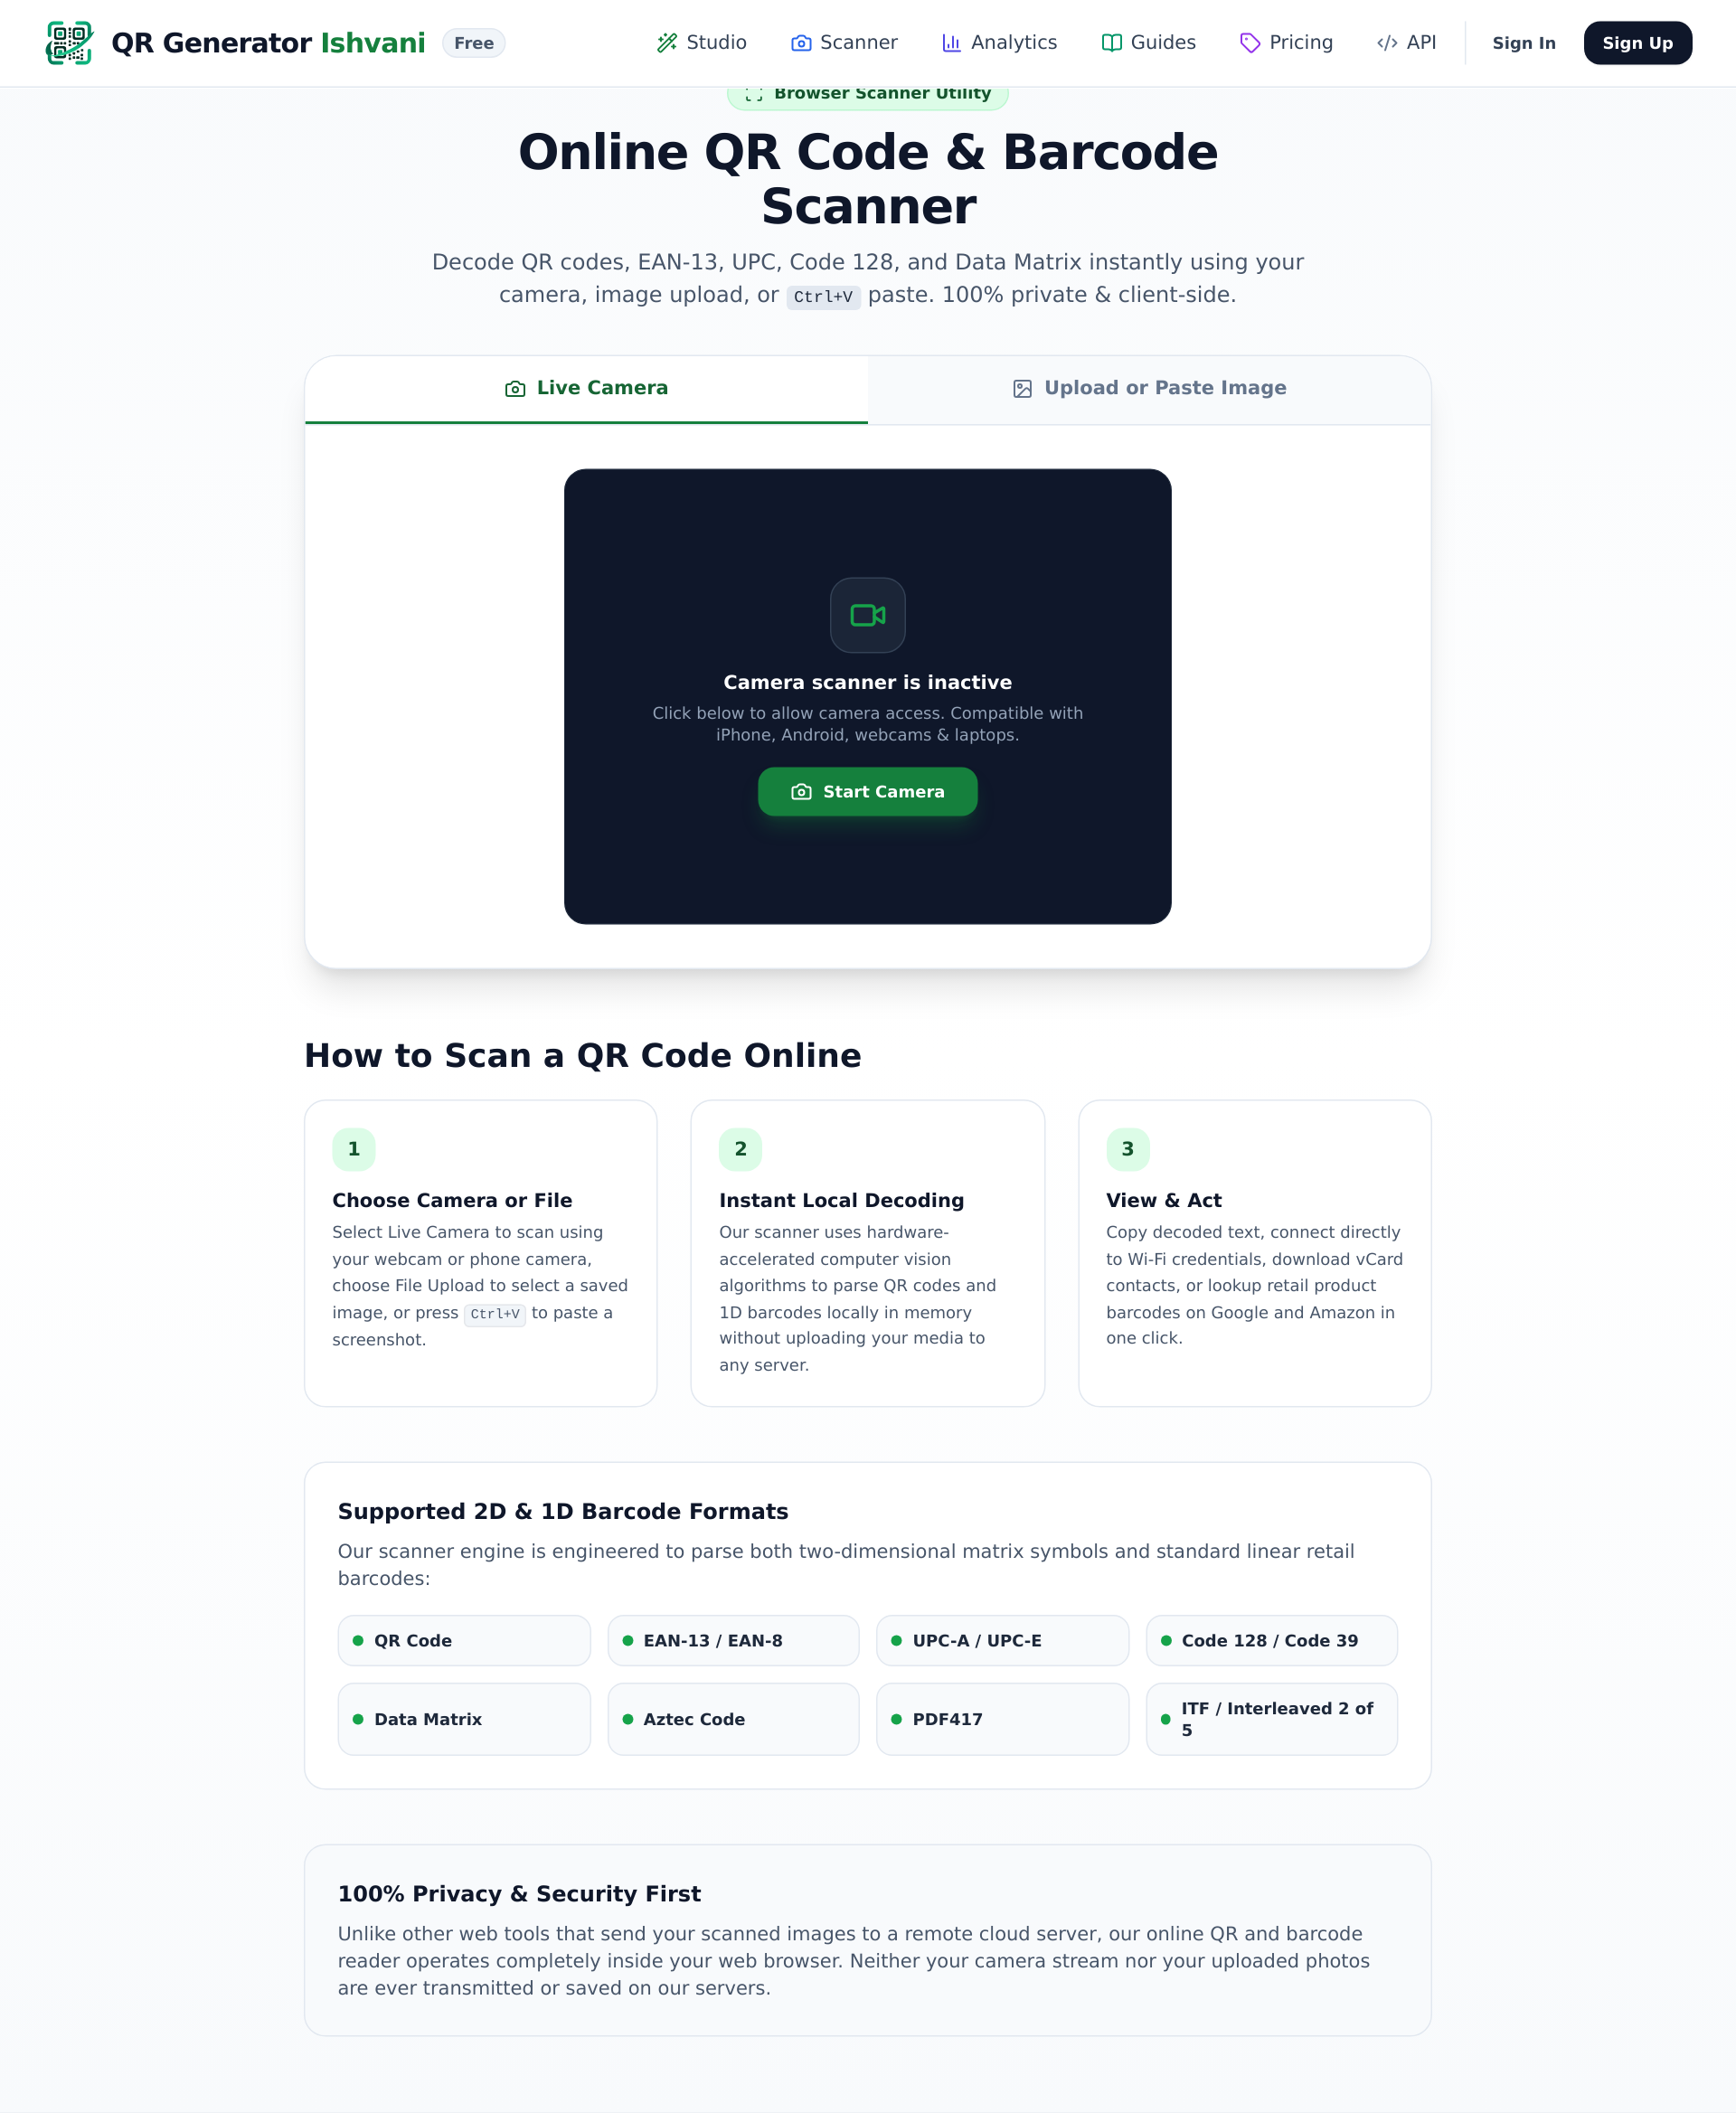
Figure 1: Diagnosing damaged, distorted, and unreadable QR codes using the client-side optical decoder at Ishvanihub
Here is the exact algorithmic sequence an optical barcode engine executes before decoding a single byte of payload:
-
Stage 1: Grayscale Conversion & Optical Binarization (Otsu's / Adaptive Thresholding)
The RGB video frame from the camera sensor is stripped of hue and saturation, converting the image into 8-bit luminance values (0 to 255). Next, an adaptive thresholding algorithm calculates a localized luminescence midpoint. Pixels above the threshold are turned into pure binary white (0), and pixels below are turned into pure binary black (1). If your design features faint pastel colors, low-contrast ink, or inverted polarity, the binarization filter collapses all modules into a single homogenous gray blob, terminating the pipeline immediately.
-
Stage 2: Position Detection Pattern (Finder Pattern) Scan & The 1:1:3:1:1 Ratio
The computer vision parser sweeps horizontal and vertical scanlines across the binarized matrix, hunting for the unique mathematical signature of the three corner Finder Patterns (the large nested squares located in the top-left, top-right, and bottom-left corners). By international standard ISO/IEC 18004, every finder pattern exhibits a strict cross-sectional black-white-black-white-black proportion of exactly 1 : 1 : 3 : 1 : 1 modules. If custom design styles, circular dots, or decorative frames distort this ratio beyond algorithm tolerances, the scanner cannot detect the presence of a QR code.
-
Stage 3: Affine Homography & Perspective Normalization
Real-world users rarely hold their smartphone perfectly perpendicular to a printed poster. The code is almost always captured at an angle, introducing perspective distortion (trapezoidal skew). Using the coordinates of the three identified finder patterns plus the secondary alignment patterns (smaller nested squares embedded throughout larger matrices), the algorithm solves an affine homography matrix. It mathematically un-skews the tilted quadrilateral back into a planar, orthogonal square grid.
-
Stage 4: Timing Pattern & Grid Sampling
Connecting the inner edges of the finder patterns are the horizontal and vertical Timing Patterns—alternating rows of black and white modules. The scanner reads these tracks to calculate the exact version number (from Version 1 with 21×21 modules up to Version 40 with 177×177 modules) and determine the exact pixel pitch of every data cell.
-
Stage 5: Format Extraction, Mask De-masking & Reed-Solomon Galois Field Decoding
The scanner reads the 15-bit format information bordering the finder patterns to uncover the Error Correction Level (L, M, Q, or H) and the data mask pattern (0 through 7). It XORs the data matrix against the mask to reveal raw binary codewords, then passes the sequence through a reed solomon error correction algorithm over Galois Field GF(28). If corrupted or obscured bytes fall within the Reed-Solomon recovery budget, the payload string is successfully parsed, and the OS triggers your notification banner. If errors exceed the budget, decoding fails silently.
2. The 9 Fatal Scannability Defects & Their Precise Technical Solutions
Now that you understand the underlying optical pipeline, let’s diagnose why your specific code is refusing to trigger. In our forensic testing of thousands of failed marketing campaigns and defective packaging samples, over 99% of failures stem from one of these nine engineering and design errors.
Inverted Contrast (Light Foreground on Dark Background)
By far, the single most widespread design mistake in modern branding is placing white or light-colored QR modules onto a dark, black, or navy blue background. Designers frequently invert colors to match a company's "Dark Mode" aesthetic or sleek black packaging.
Why it fails: The ISO/IEC 18004 standard specifies that QR code modules must have a reflectance value lower than the background. In optical terms, dark modules represent binary "1" (low luminance, $L^* \le 20$), and the light background represents binary "0" (high luminance, $L^* \ge 80$). While high-end flagship smartphones (such as recent iPhone Pros or Google Pixel devices running advanced neural engines) include secondary fallback passes for inverted images, millions of budget Android handsets, handheld retail laser/imager scanners, and built-in camera apps reject inverted colors qr code configurations instantly. The binarization step interprets the white finder pattern as empty background space and skips the frame entirely.
Violated Quiet Zone Margin (Cropping the White Perimeter)
The qr code quiet zone margin is the solid, unprinted border surrounding the outer perimeter of the matrix. Graphic designers frequently crop this white border flush against the black corner squares to make the code fit snugly inside a card layout, or place text captions, decorative borders, illustrations, and textured photography directly against the modules.
Why it fails: The scanner's computer vision algorithm relies on the quiet zone to establish baseline ambient luminescence before identifying the outer 1:1:3:1:1 boundary of the finder patterns. If text or colored artwork encroaches within this perimeter, the scanner sees the adjacent graphic as part of the finder pattern. The 1:1:3:1:1 proportion is broken, and the scanner cannot locate the code's outer boundaries.
Center Logo Overflow & Reed-Solomon Error Correction Overload
Branded QR codes with company logos in the center look polished and professional. However, placing a logo is not an official feature of the raw QR code specification—it is an engineering exploit made possible by reed solomon error correction redundancy. When a logo is stamped over the center of a QR code, those underlying modules are literally destroyed; the scanner reconstructs the missing payload using mathematical parity polynomials.
There are four standardized Reed-Solomon recovery levels:
- Level L (Low): Recovers up to ~7% corrupted or obscured data bytes.
- Level M (Medium): Recovers up to ~15% corrupted or obscured data bytes (default for generic generators).
- Level Q (Quartile): Recovers up to ~25% corrupted or obscured data bytes.
- Level H (High): Recovers up to ~30% corrupted or obscured data bytes (mandatory for logos).
Why it fails: If a designer uses an amateur generator set to Level L or Level M, and drops a logo covering 20% of the center, the data corruption immediately exceeds the recovery threshold. Furthermore, if a logo is too large, it can overlap the critical internal Alignment Patterns (the small concentric squares located inside higher-version matrices) or obliterate the timing tracks. Once alignment patterns are obscured, the affine homography engine cannot de-skew the image, resulting in zero scan detection.
Extreme Data Density on Micro Print Sizes (Violating the 10:1 Ratio)
Embedding long, complex payloads into a static QR code—such as a 250-character URL packed with Google Analytics UTM parameters, session tokens, and affiliate strings—forces the matrix to expand. A simple 20-character URL generates a compact Version 2 matrix ($25 imes 25$ modules). A 250-character URL, combined with Level H error correction, skyrockets the matrix to Version 10 ($57 imes 57$ modules) or Version 14 ($73 imes 73$ modules).
Why it fails: If a $73 imes 73$ matrix is printed onto a standard business card at 20 mm wide, each individual module is smaller than 0.27 mm. According to the Nyquist-Shannon sampling theorem, a digital camera sensor requires at least 2 to 3 camera pixels per module to accurately resolve black from white. At a natural holding distance of 30 cm (12 inches), an average smartphone camera lens simply cannot resolve micro-modules under 0.3 mm; the matrix blurs into an indistinguishable gray smudge.
Pixelated Raster Files (Low-Res PNG/JPG vs. 300+ DPI Vector SVG)
Graphic designers frequently download a small preview PNG (e.g. 72 DPI, $300 imes 300$ pixels) from an online generator and scale it up inside Adobe InDesign, Illustrator, or Canva for commercial print.
Why it fails: Raster image scaling uses interpolation algorithms (such as bilinear or bicubic filtering). When a low-resolution bitmap is scaled up, sharp perpendicular module edges are smoothed out into soft gradient ramps of semi-transparent gray pixels. When the printing press outputs the file, ink bleeds into these blurred boundaries (dot gain). When an optical scanner attempts edge detection, it encounters fuzzy intermediate gray zones rather than sharp transitions, causing the blurry qr code fix failure where the camera continuously pulses focus without locking.
Surface Glare, Laminate Reflections, and Cylindrical Distortion
Your QR code may be perfectly formatted in your design software, but completely fail once applied to physical materials like glossy menu laminations, retail window vinyls, beverage cans, wine bottles, or flexible food packaging bags.
Why it fails: High-gloss varnishes and plastic sleeves produce specular reflection (glare). When overhead retail lighting or direct sunlight bounces off the glossy surface directly into the camera lens, the sensor saturates to pure white ($L^* = 255$). The dark modules caught in that glare hotspot are completely obliterated from the camera's perspective. On curved cylindrical substrates (such as bottles or cosmetic tubes), the physical surface curvature compresses the horizontal pitch of the code, destroying the orthogonal grid geometry required for affine transformation.
Expired Dynamic URL Redirects & Predatory 14-Day Trial Paywalls
Sometimes, the camera optical pipeline works flawlessly: the yellow framing reticle pops up, the phone beeps, and the browser opens—only to present a disheartening message: "HTTP 404 Not Found", "DNS Resolution Failed", or worse: "This dynamic QR code has expired. Upgrade your monthly subscription to reactivate."
Why it fails: Many commercial "free" generator websites lure users in by defaulting all output to proprietary dynamic redirect links on their private cloud servers. After 14 days, their automated billing engine shuts off the redirect and holds your printed collateral hostage until you pay $15 to $50 per month. In other cases, marketing teams reorganize their website or delete a landing page, causing the hardcoded URL in a static QR code to return a dead link.
Hardware Autofocus, Dirty Camera Lenses & Minimum Focal Distance Constraints
When troubleshooting user complaints about qr code scanner troubleshooting, up to 30% of problems are related to physical smartphone hardware rather than the code design itself.
Why it fails: Every optical camera lens has a physical Minimum Focal Distance (MFD). Standard smartphone primary wide lenses cannot achieve sharp focus on objects closer than 8 to 12 cm (3 to 5 inches). When a user holds their phone 2 inches away from a tiny QR code, the autofocus motor reaches its mechanical stop, producing an out-of-focus bokeh blur that optical algorithms cannot decipher. Additionally, smartphones spend all day in pockets and bags, accumulating skin oils, greasy fingerprints, and lint on the protective sapphire lens cover. This creates low-contrast optical diffraction (halation), washing out black-to-white contrast.
Extreme Camera Skew Angles (> 45-Degree Angle Distortion)
In real-world environments—such as high subway posters, store window banners, or floor decals—users scan from oblique, acute angles while walking past.
Why it fails: While the affine homography transformation engine can mathematically correct mild keystone distortion up to approximately 30 to 40 degrees, severe acute angles (> 45 degrees) severely compress the optical module width on the far axis. Modules overlap in the optical projection, finder patterns distort from square to narrow rhombuses, and the 1:1:3:1:1 frequency ratio cannot be extracted along the compressed axis.
3. Diagnostic Matrix: Hardware vs. Design vs. Server Failure
When troubleshooting an unreadable QR code, the fastest way to resolution is categorizing the symptoms. Use this comprehensive diagnostic matrix to isolate whether the failure originates in the graphic design file, the physical substrate, user hardware, or the destination server:
| Failure Symptom | Root Cause Category | Underlying Technical Flaw | Immediate Corrective Action |
|---|---|---|---|
| Camera ignores code completely (no reticle or yellow box) | Design / Optical | Inverted colors (light on dark) or missing 4X quiet zone margin. | Re-generate with dark modules on light canvas; restore 4-module white border. |
| Camera repeatedly pulses focus, never locks | Substrate / Hardware | Blurred raster scaling, greasy lens, or holding phone closer than macro focal limit (< 8 cm). | Step back to 20 cm, clean camera lens with cloth, or re-export as 300+ DPI vector SVG. |
| Reticle flashes briefly but fails to trigger link | Mathematical Design | Reed-Solomon recovery overflow. Center logo covers > 30% or error correction set to Level L/M. | Switch to Level H (30%) Error Correction; shrink center logo footprint to ≤ 20%. |
| Scans outdoors under shade, fails under direct lights | Substrate / Lighting | Specular glare from high-gloss laminate washing out modules to white. | Reprint with matte or satin finish; shield direct light source with hand during scan. |
| Code beeps instantly, but opens 404 or "Trial Expired" | Destination / Server | Predatory 14-day trial redirect expired, or destination URL deleted from CMS. | Set up 301 server redirect, or re-generate code using lifetime unexpirable static QR generator. |
| Scans on iPhone 16 Pro, fails on budget Android | Sensor Threshold | Contrast ratio is marginal (e.g. 2.5:1 pastel blue on white) or module size < 0.3 mm. | Increase contrast ratio to ≥ 10:1 (true black/white); scale up physical print dimensions. |
4. Can You Scan a QR Code from a Screenshot or Saved Image?
One of the most frequent user queries is: "Someone sent me a QR code in an email, Instagram DM, WhatsApp message, or PDF receipt on my phone—can you scan a qr code from a screenshot without using a second phone?"
The answer is an absolute yes. You never need to borrow someone else’s phone or print a digital ticket just to read its contents. Depending on your operating system and environment, here are the three fastest methods to scan a QR code from a screenshot:
Method 1: Apple iOS (Photos Live Text)
Take a screenshot on your iPhone or iPad. Open the Photos app and view the image. In the bottom-right corner, tap the Live Text icon (three lines inside a square). iOS will highlight the QR code and present an interactive popup button allowing you to open the link directly in Safari.
Method 2: Android (Google Lens / Photos)
Take a screenshot and open it in Google Photos. Tap the Lens button at the bottom of the display. Google Lens will automatically execute its optical character and barcode recognition engine, extracting the payload URL in a bubble overlay for instant tapping.
Method 3: Universal Browser (Ishvanihub Scanner)
Whether you are on a Mac, Windows PC, Chromebook, Linux, or mobile browser, navigate to our free online QR code reader from image. Drag and drop your screenshot file or paste directly from your clipboard (Ctrl+V / Cmd+V).
Pro Troubleshooting Tip: Scanning via our web-based scanner tool is the fastest way to confirm whether a code is physically damaged or suffering from a hardware camera issue. Because our web tool operates directly on raw bitmap pixels in memory, it eliminates lens distortion, reflection, autofocus lag, and lighting problems entirely. If the image decodes in the browser tool but fails on a physical phone, the problem is 100% related to print size, contrast, or substrate glare.
5. The Graphic Designer & Commercial Print Pre-Flight Checklist
Before releasing any commercial marketing collateral, packaging die-line, or event signage to a commercial printer, put your production files through this five-step pre-flight quality assurance protocol:
Check 1: Quiet Zone Margin Compliance (4X Rule)
Zoom in on your layout to 400% in InDesign or Illustrator. Measure the width of one single data module. Confirm that there is at least 4 times that module width of completely empty, unprinted, solid background surrounding all four outer borders. Ensure no clipping masks, drop shadows, or background imagery encroach inside this boundary.
Check 2: Color Contrast & Inverted Luminance Audit
Verify that your foreground modules are dark (#000000 or deep brand shade) and the background is light (#FFFFFF or pale pastel). Convert your document view to grayscale proofing mode. If the code is not instantly discernible with high visual contrast in black and white, it will fail optical binarization. Never use inverted colors (white modules on dark canvas).
Check 3: Logo Footprint & Reed-Solomon Level H Audit
If embedding a brand logo, confirm that the QR code was generated with Level H (30%) Error Correction. Measure the logo dimensions: its total surface area must not exceed 20% to 25% of the total matrix. Verify that the three corner finder patterns and internal alignment marks remain 100% uncovered and intact.
Check 4: Sizing & Distance-to-Width Ratio Calculation
Identify the primary viewing distance for the finished piece. Calculate: Minimum Width = Expected Scanning Distance / 10. If designing a trade show banner to be scanned from 2 meters away, size the QR code to at least 20 cm × 20 cm. For tabletop menus scanned from 30 cm, size to at least 3 cm × 3 cm. Never scale a high-density matrix below 2 cm.
Check 5: Physical Press Proofing with Multiple Hardware Tiers
Never sign off on a print run by scanning your computer monitor. Print a physical 1:1 scale proof on the actual paper stock and finish specified for production. Test the printed proof with at least three distinct devices: a current-generation flagship smartphone, an older 3-to-4-year-old budget Android phone, and a tablet. Test under both bright direct office lighting and subdued ambient conditions.
Frequently Asked Questions (People Also Ask)
Why is my QR code not scanning on my iPhone or Android?
The most common reasons are inverted colors (white code on dark background), insufficient margin space around the code (missing 4-module quiet zone), camera lens smudges, or holding the camera too close to the code (< 8 cm), which prevents hardware autofocus from locking. Ensure the code has dark modules on a clean light background, wipe your camera lens, and hold the device 20 cm away.
Can you scan a QR code from a screenshot or photo gallery?
Yes. On iPhone, open the screenshot in the Apple Photos app and tap the Live Text icon in the lower-right corner. On Android, open the image in Google Photos and tap the "Lens" button. On any computer or mobile browser, you can upload the image file or paste it directly into our free web-based online QR code reader from image to decode the payload instantly.
What is the minimum size a QR code can be printed and still scan reliably?
For standard arm’s length scanning (30 to 40 cm away), the minimum recommended print size is 2 × 2 cm (0.8 × 0.8 inches) for low-density matrices (short URLs under 30 characters). For high-density static codes containing vCards or long URLs with UTM parameters, never print smaller than 3 × 3 cm (1.2 × 1.2 inches). For larger distances, apply the 10:1 distance-to-width formula.
Why do inverted or dark mode QR codes fail to scan on some apps?
Under international standard ISO/IEC 18004, QR codes are engineered with dark data modules on a reflective, light background. Optical binarization engines look for dark pixels to identify the 1:1:3:1:1 ratio of the corner finder patterns. When inverted (light pixels on a dark background), standard barcode engines and budget camera sensors cannot distinguish finder boundaries from the canvas, resulting in scan failure.
What is the quiet zone margin, and why does my QR code need it?
The quiet zone is a mandatory unprinted border surrounding all four sides of the QR code matrix. It must be at least 4 modules wide. This blank boundary gives the smartphone's computer vision algorithm an optical buffer to separate the barcode's finder patterns from surrounding text, images, or package design elements. Without it, the scanner cannot establish where the code begins and ends.
How does Reed-Solomon error correction help fix damaged or customized QR codes?
Reed-Solomon error correction uses Galois Field algebraic algorithms to append mathematical parity polynomials to the raw payload data. When a code is torn, smudged, or intentionally covered by a company logo, the scanner evaluates the remaining undamaged blocks and solves a system of polynomial equations to mathematically reconstruct the obscured data bytes. When set to Level H (High), up to 30% of the physical matrix can be completely unreadable while still decoding 100% of the payload.
Never Worry About Unreadable QR Codes Again
Diagnose broken codes right now using our free client-side image scanner, or generate production-ready, ISO-compliant QR codes with guaranteed contrast, automated 4X quiet zones, and vector SVG exports.
Ready to Create Your Custom QR Code?
Start generating scannable QR codes with custom colors, company logo, and lossless vector SVG export in seconds.